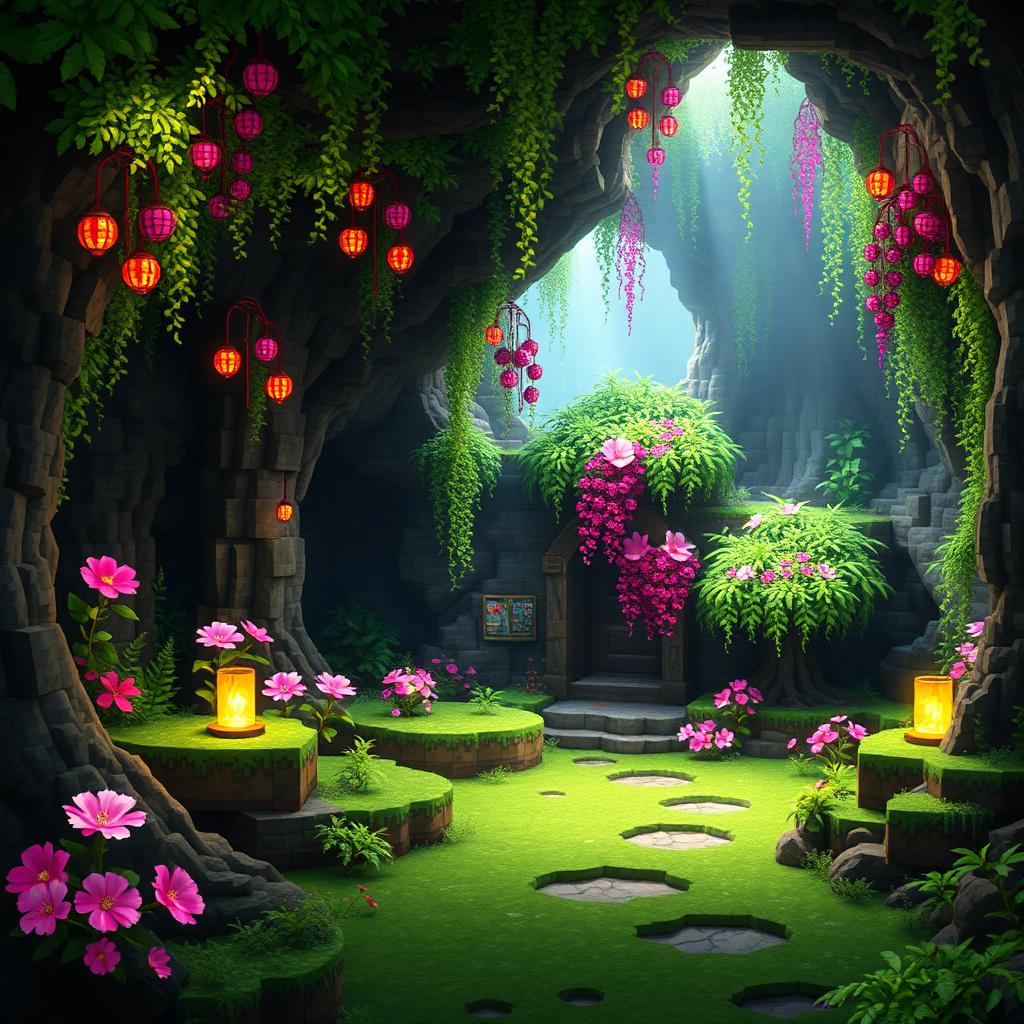
Lush Cave Garden Base Mechanics
Introduction
Introduction
A lush cave can support a survival base built around moss landscaping, glow-berry lighting, composting, and a small bee garden. The key is separating decoration from systems that must remain dependable. Glow berries can be harvested, leaving their vines dark; moss can replace nearby natural blocks; and bees need suitable working conditions. Build a secure core first, then add each garden system independently.

How the Garden Systems Work
Glow-berry-bearing cave vines emit light level 14, but vine sections without berries do not emit light. Moss spreads when bone meal is applied and can generate vegetation for decoration or composting. Bees visiting flowers can help certain crops grow when pollen falls onto them, but this supplements normal growth rather than replacing light or water. Honeycomb provides wax for copper and ingredients for additional beehives.
These features exist in both Java and Bedrock Edition from the Caves & Cliffs era onward. Exact automation layouts and redstone behavior can differ. The manual layout below avoids edition-sensitive circuitry and remains useful on servers that restrict automatic farms.
Materials and Site Preparation
Bring torches or lanterns, solid building blocks, doors, fences, a water bucket, a hoe, seeds, shears, bone meal, and storage chests. Collect moss blocks, azaleas, glow berries, and ordinary flowers. One composter requires seven wooden slabs. One crafted beehive requires six wooden planks and three honeycomb, but crafting it does not create bees.
For beekeeping, also prepare a campfire and either leads or flowers for moving bees. Transporting an occupied nest or hive as a block requires Silk Touch; collect it after the bees have entered. Without Silk Touch or a safe transport route, postpone bees rather than risking the colony.
Step-by-Step Construction
Step 1: Secure a compact section of cave. Choose a ledge with enough solid floor for storage, a crop patch, and an enclosed bee room. Block side passages, fence drops, and separate the base from waterfalls or pools that could carry mobs inside. Inspect overhead shelves as well as the floor. Place permanent lighting before clearing vegetation or opening additional tunnels.
Step 2: Establish lighting that survives harvesting. Plant glow berries on the undersides of suitable ceiling blocks to start hanging cave vines. Leave clearance above paths so vines do not obscure entrances. Applying bone meal to a berryless vine section makes it bear berries; harvesting those berries removes that section’s light. Keep selected vines decorative and unharvested, and place torches or lanterns around workstations and exits as backup.
Step 3: Verify spawn protection. In modern Java and Bedrock versions, most ordinary hostile mobs require block light level zero to spawn, but lighting is not a universal defense. Slimes can spawn despite light in qualifying underground locations. Cover troublesome floors with correctly placed bottom slabs or other appropriate non-spawnable blocks. Java’s debug information can help check local light; Bedrock has no equivalent standard F3 display. Watching an area without seeing mobs is not proof that it is safe.
Step 4: Landscape with controlled moss patches. Place moss beside exposed stone or dirt, with open space above the intended spread, then apply bone meal. Moss can replace eligible nearby blocks and produce moss carpet, vegetation, and azaleas. Remove and compost surplus plants before repeating. Keep the spreading area separate from natural-block floors you want to preserve, and use a constructed boundary. Bone-mealing an azalea can grow a tree, so reserve tree growing for a chamber with sufficient clearance.
Step 5: Install a simple compost station. Put a composter beside the moss patch and feed it surplus moss, azaleas, seeds, or other accepted plant items. Composting is chance-based; not every item advances the level. Once full, the composter finishes processing and yields one bone meal. Do not assume a small manual moss patch will always repay every piece of bone meal spent. Keep a reserve from skeleton bones or another dependable source.
Step 6: Build the food garden separately. A central water block can hydrate farmland up to four blocks away horizontally, including diagonally, at the same level or one block below the water. This supports a nine-by-nine footprint with water at its center. Start smaller if supplies are limited. Plant wheat, carrots, or potatoes, illuminate the crops adequately, and use paths that prevent accidental jumps onto farmland. These crops generally need light level nine or higher to grow.
Step 7: Add an enclosed bee room. Position the hive with its entrance unobstructed and place ordinary flowers nearby. Put crops between the flowers and hive to encourage pollen-carrying bees to cross them. Enclose the room and shield bees from water, lava, and campfire flames. Underground bees still follow the Overworld’s day and weather schedule; lamps do not make them work continuously. If cave transport proves impractical, maintain a surface apiary instead.
Step 8: Harvest honeycomb safely. Wait until the nest or hive is full of honey, then use shears to obtain three honeycomb. First place a lit campfire directly beneath it with a clear smoke path to pacify the bees. Protect bees from touching the fire without blocking the smoke’s effect. Do not assume decorative particles prove a complicated arrangement is safe; validate it in a creative copy first.
Troubleshooting and Expansion
If vines become dark, restore berries with bone meal and check the permanent lights. If crops stall, inspect farmland hydration and light before blaming bees. If bees remain inside, wait for daytime and clear weather, then check the entrance and flower access. Label harvest storage separately from reserves. Expand only after each manual system works reliably; automatic composting can use hoppers, but should have dedicated input storage so valuable planting supplies are not consumed accidentally.
Please support us by visiting one of our partners: Amazon