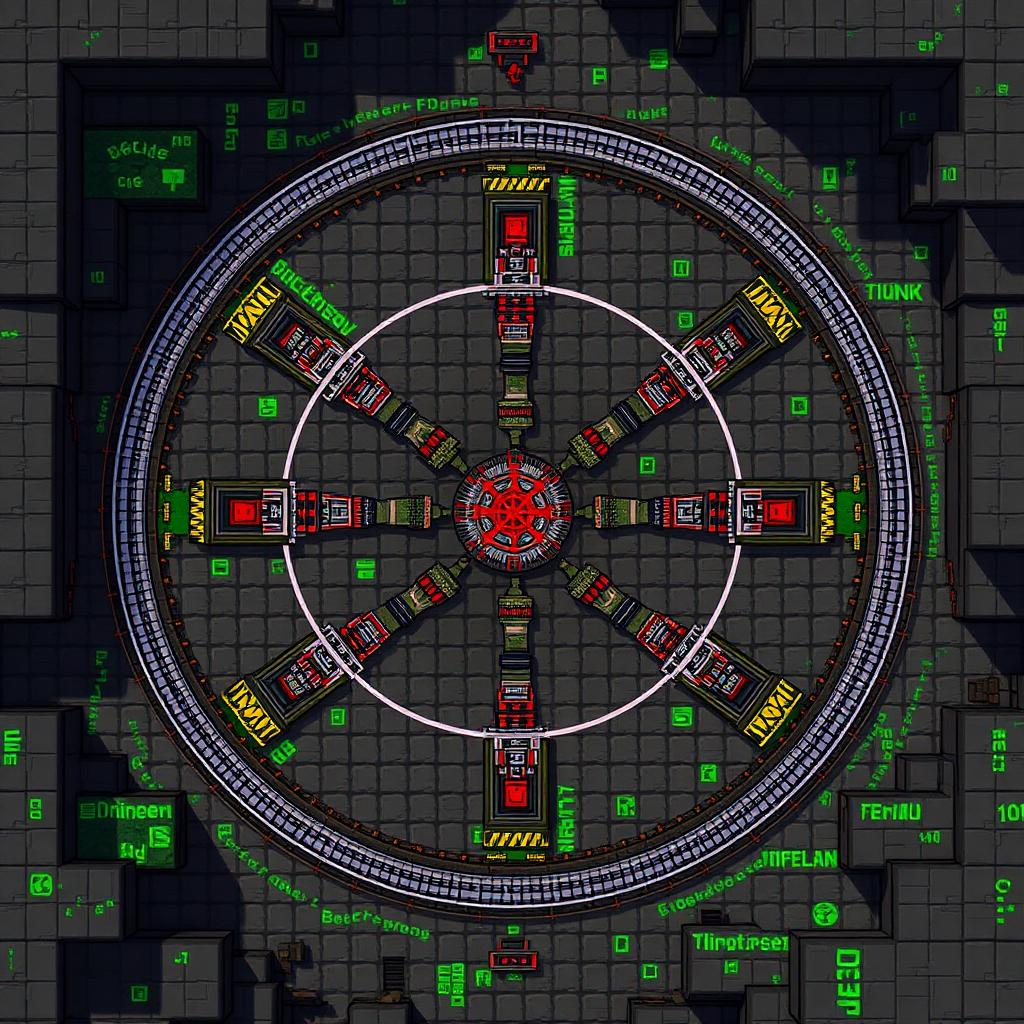
Nether Hub Coordinate Planner
Introduction
Plan the Links Before Building the Roads
A Nether hub connects distant Overworld destinations through a shorter transport network. Its coordinate planner is a record of paired portal locations, tunnel routes, and travel directions. Establish and test each portal pair first; decorate and upgrade the roads afterward. This avoids building an expensive ice tunnel to a portal that sends everyone to the wrong base.

How Portal Coordinates Work
For travel from the Overworld to the Nether, divide X and Z by 8. For the return journey, multiply Nether X and Z by 8. Preserve negative signs: an Overworld destination at X = 1200, Z = -640 targets Nether X = 150, Z = -80. Y is not divided or multiplied.
The conversion identifies a target position, not a permanently assigned partner. Portals search for eligible destination portals near that target, and height can affect which candidate is selected. If none qualifies, the game attempts to generate a portal on suitable terrain, potentially away from your planned coordinates. Exact search behavior differs between Java and Bedrock and can change with versions or server modifications.
Record actual portal opening coordinates, including Y, rather than a nearby sign or exterior frame corner. Exact transformed X/Z positions and reasonably matched heights are especially useful where several portals compete.
Materials and Planning Tools
A minimum rectangular portal uses 10 obsidian with its four corners omitted; a complete frame uses 14. Its opening is two blocks wide and three blocks high. A manually constructed minimum pair therefore requires 20 obsidian, unless you reuse an existing portal. Bring flint and steel, a diamond or netherite pickaxe for adjustments, and spare building blocks.
Use signs and a written book or external coordinate sheet for the directory. Bring nonflammable blocks for floors and barriers, glass for protected viewing sections, doors or gates where appropriate, and lighting. Ice roads need packed ice or blue ice, boats, and a Silk Touch tool if you intend to recover placed ice. Both ice types resist melting; ordinary ice can melt near sufficient block light.
Overworld maps can show destination areas, but Nether maps do not provide a useful tunnel map. Use a coordinate directory for navigation. Java players can read coordinates on the debug screen; Bedrock players can use the world's Show Coordinates setting where available.
Step-by-Step Construction
Step 1: Survey your destinations. Record each base, village, or resource site's portal X, Y, and Z. Add the calculated Nether X/Z beside it. Check whether different destinations produce nearby Nether targets; these deserve early linking tests because their portals may compete.
Step 2: Choose a hub level. Favor an accessible layer inside the Nether with manageable excavation and safe approaches. Keep your main corridor at a consistent Y, then use enclosed stairs to reach portal rooms at other heights. Do not assume Nether-roof construction is portable: Java and Bedrock have different building constraints, and servers may restrict roof access. An interior hub is the dependable alternative.
Step 3: Establish the first pair. Build or identify the Overworld portal, enter it with modest equipment, and note where you arrive. Protect the arrival point immediately. Locate the calculated Nether target and inspect it before moving anything. Bring fire resistance when available, bridge over lava cautiously, and never remove your only usable exit.
Step 4: Build the intended Nether portal at the converted X/Z. Choose a safe Y, considering nearby portals and the Overworld partner's height. Activate it, then test travel in both directions. If an unwanted generated portal competes with your intended one, deactivate it only after confirming a safe return route. On shared servers, identify its owner before altering it.
Step 5: Extend one destination at a time. Build its Overworld portal and matching Nether portal, then test both journeys before connecting the road. Keep a record of actual arrival coordinates. A portal reaching the correct destination once does not establish reciprocal behavior; test the return separately.
Step 6: Build protected corridors. Start with a solid walking route, enclosed sides, and a roof where exposed to ghasts. Glass provides visibility but should not be treated as blast protection. Use resistant blocks such as cobblestone for exposed protective walls, with glass behind them where practical. Prevent falls at junctions and portal approaches.
Step 7: Upgrade suitable straight routes to ice. Install a continuous packed-ice strip and test a short section with your boat before committing materials. Leave clearance for the boat's width and overhead space for riding and dismounting. Provide wider junctions and solid stopping areas before portals. Blue ice allows faster boat travel but costs substantially more to craft; packed ice is a sensible first build.
Step 8: Label every junction. Show destination name, direction, Nether coordinates, and Overworld coordinates. Mark positive and negative axes: east increases X, south increases Z. Store replacement boats near stops. Use enclosed, spawn-proof passenger areas rather than relying on lighting alone, since Nether mobs have different spawning requirements.
Validation and Troubleshooting
If a link reaches the wrong portal, recheck negative signs, the 8:1 conversion, opening coordinates, and nearby portals at different heights. Correct horizontal placement first, then reconsider height. If close links remain unreliable, consolidate them into one shared Nether station and use short Overworld connections.
Test difficult layouts in a separate creative copy where available, with the same edition and version. Multiplayer plugins can change portal behavior, so confirm server rules before excavation. Keep initial survival tests low-risk, carry a relighting tool, and retain a walking lane beside fast transport.
Please support us by visiting one of our partners: Amazon