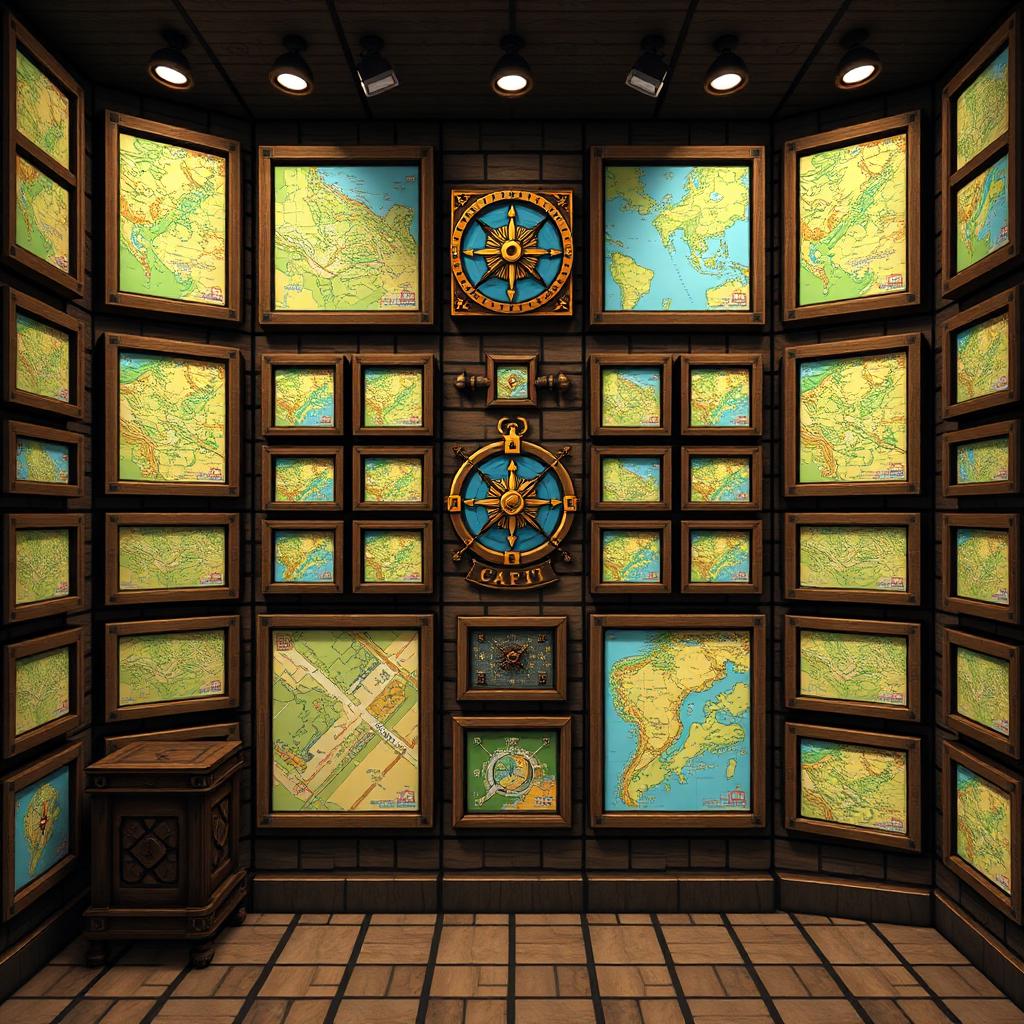
Compass Locator Map Wall
Introduction
What This Navigation Station Actually Does
A compass locator map wall combines a tiled map of your surroundings with labels and portable navigation tools. The wall shows explored terrain; carried map copies help you recognize routes; compasses provide direction to world spawn or a linked lodestone. These are separate functions: naming a compass “Desert Base” does not make it point there, and placing a map in a frame does not automatically reveal unexplored land.
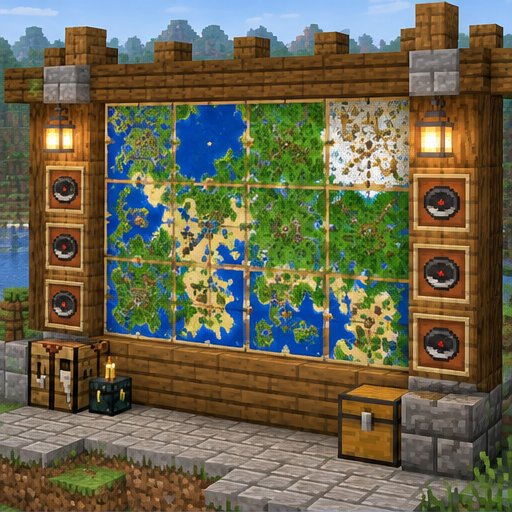
Start with an Overworld wall. Nether maps do not provide useful surface navigation because they show the dimension’s roof rather than its tunnels. Label Nether routes with coordinates instead. Ordinary compasses also spin unpredictably outside the Overworld; lodestone compasses work only in the dimension containing their linked lodestone.
Materials and Map Choices
For a starter 2-by-2 display, prepare four item frames, four maps covering different neighboring regions, a wall with four accessible display positions, and signs. Four ordinary item frames require 32 sticks and four leather. Scaffolding is helpful for larger displays but unnecessary for a wall you can reach from the floor. Bring food, lighting, and spare mapping supplies while exploring.
A cartography table costs two paper and four wooden planks and makes enlarging and copying maps economical. Keep additional paper for enlargement and blank maps for copies. Supply totals depend on your edition, chosen scale, and number of backups.
In Java Edition, the standard empty map recipe uses eight paper around one compass. In Bedrock Edition, that recipe produces an empty locator map; a paper-only map lacks locator functionality. Bedrock also lets you combine a map with a compass at a cartography table to add it. Locator functionality supplies position markers, not automatic discovery of bases or structures.
Build and Map the Wall
Step 1: Choose a safe, accessible wall near your main storage or departure point. Install four frames in a square and leave room for labels around them. Light the area and prevent hostile mobs from entering. Avoid exposed positions where creeper explosions could destroy the display. Use scaffolding rather than dangerous jumps when expanding upward.
Step 2: Select one scale for every tile. A newly activated map covers 128 by 128 blocks. Each enlargement doubles its width: 256, 512, 1,024, then 2,048 blocks at maximum scale. Level 1, covering 256 by 256 blocks, is a reasonable local starting point. Larger scales cover more territory but hide small roads and buildings.
Step 3: Activate your first map near the area you want to display. At a cartography table, combine it with paper once per enlargement level. Enlarge before serious exploration: enlarging changes the map’s coverage and requires exploration at the resulting scale. Maps follow a fixed world grid, so the activation point is not necessarily their center.
Step 4: Explore with the map selected or otherwise held where your edition updates it. Sweep across the region in overlapping passes, checking the actual colored coverage rather than assuming one journey fills everything. Carry a bed and safe travel supplies, but remember that sleeping changes your respawn point, not an ordinary compass’s target.
Step 5: Create the neighboring tiles beyond the first map’s north, south, east, or west boundary. Activate each new map within the intended neighboring region, then enlarge it to exactly the same scale. Check its terrain against the existing tile before exploring extensively. Two separately created maps can cover the same region if activated within the same grid cell.
Step 6: Place the maps in geographic order: north at the top, east to the right. Interact carefully because using an occupied frame rotates its contents. Keep every map upright. If coastlines do not join, check rotation, scale, and whether you accidentally mapped a duplicate region before replacing frames.
Mark Bases and Make Useful Compasses
Step 7: Put signs beside the display naming bases, villages, and portal entrances. Record coordinates and the dimension for each destination. Where coordinates are available through your edition’s interface or permitted world settings, record them directly. Otherwise, describe landmarks and routes. For portals, label both ends separately; do not assume that a visible Overworld entrance identifies its exact Nether exit.
Java Edition supports banner markers: place a banner, optionally name it in an anvil, and use the map on that banner. Bedrock does not support this same banner-marking workflow. Signs and a coordinate notebook are the reliable cross-edition alternative. Frame and player marker behavior also differs between editions, so test your actual display instead of depending on a particular icon.
Step 8: For a compass that genuinely targets a site, place a lodestone there and use a compass on it. Consult your version’s recipe book: lodestone crafting ingredients changed in newer releases. Name the linked compass afterward for organization. Test it by walking away in two directions and checking that it points back. Breaking the lodestone or carrying the compass into another dimension prevents useful tracking.
Copies, Updates, and Troubleshooting
Step 9: Clone completed tiles at a cartography table using the mapped item and an appropriate empty map. Carry a linked copy while leaving another in its frame. Copies share map data, so exploration with an updating copy can refresh the display; unrelated maps covering the same region are not linked copies.
If new buildings never appear, revisit them holding an unlocked copy. A map locked with a glass pane at a cartography table cannot update. Use locking only for historical snapshots. Before expanding, validate one adjacent tile, one copied map, and one compass in survival. On servers, map rendering or tracking may be modified; signs, landmarks, and permitted coordinate displays remain a sensible fallback.
Please support us by visiting one of our partners: Amazon