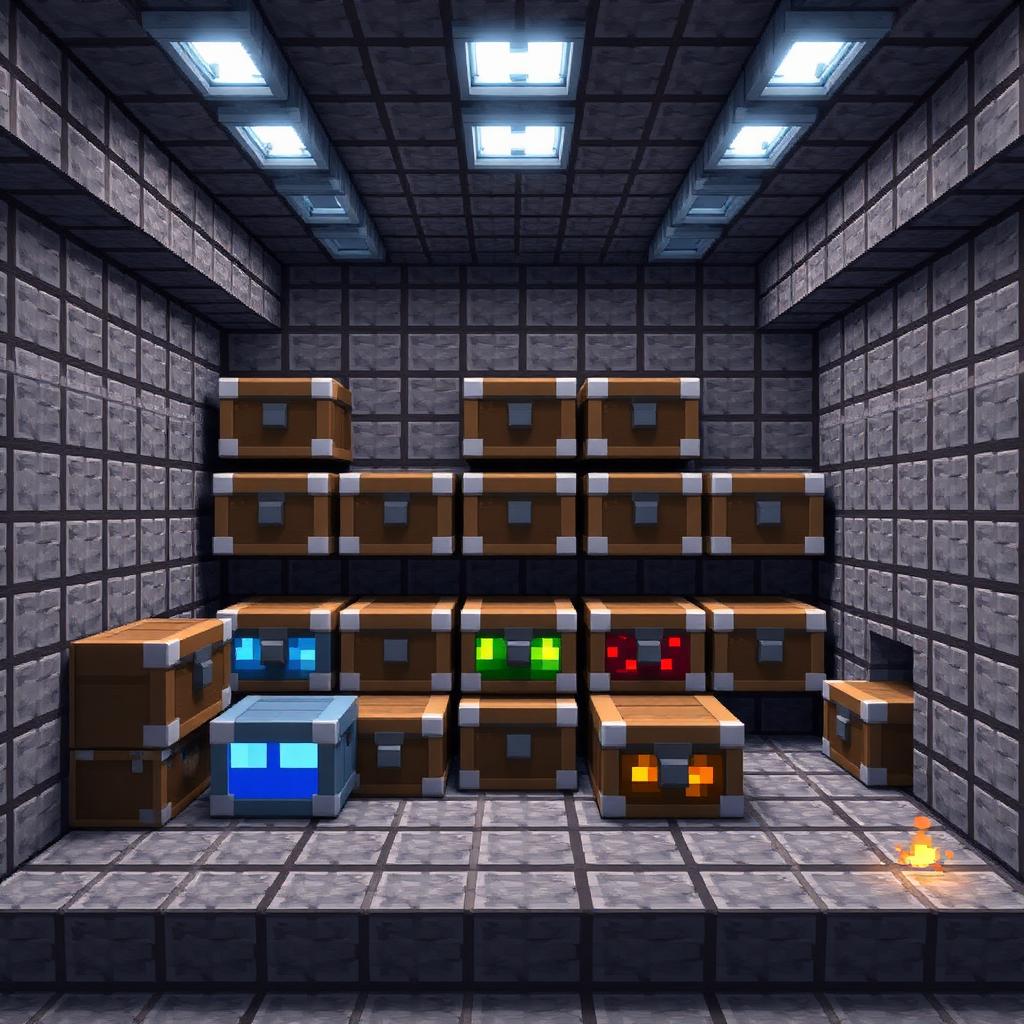
Ender Chest Logistics for Mega Builds
Introduction
How the System Works
An ender chest is a personal inventory accessed through any ender chest in the same world, including across dimensions. It is not a shared container: two players opening the same block see their own contents. Breaking an ender chest does not spill or erase its inventory. This makes it a dependable transport layer between your main warehouse and distant construction sites, but not an automatic delivery system.

The inventory has 27 slots. Each shulker box placed inside adds 27 storage slots, so 27 shulker boxes provide 729 internal slots. That is up to 46,656 items only if every slot holds a full stack of 64. Tools, potions, and other items with smaller stack limits reduce that total. Shulker boxes retain their contents when broken, but cannot contain other shulker boxes.
Materials and Preparation
For a starter network, prepare three ender chests: one at your warehouse, one at the active build, and one to carry. Each recipe uses eight obsidian and one eye of ender, so three require 24 obsidian and three eyes. Bring a Silk Touch pickaxe to recover placed ender chests intact. Without Silk Touch, mining one with a pickaxe drops eight obsidian rather than the chest; its eye is not recovered.
Start with six shulker boxes: each requires two shulker shells and one ordinary chest, making 12 shells and six chests total. Add distinct dyes, an anvil for names, and ordinary chests or barrels for site storage. Optional item frames identify fixed storage bays; they do not travel as labels attached to shulker boxes. Without access to shulker shells, use the ender chest's 27 slots directly and stage larger quantities in ordinary containers.
Set Up the Logistics Loop
Step 1: Choose a small, consistent category system. For example, use blue for tools, yellow for lighting and access equipment, white for primary blocks, gray for secondary blocks, green for landscaping, and red for returns. Dye the boxes and rename them in an anvil with functional names such as “PRIMARY — STONE” or “ACCESS — SCAFFOLDING.” Renaming costs experience. Names remain useful when similar colors are hard to distinguish.
Step 2: Establish a warehouse packing station beside your bulk storage. Place the permanent ender chest where you can stand safely and open it; keep the block directly above it clear. Give nearby staging containers matching names or item-frame samples. Keep frames on fixed walls rather than treating them as portable labels. Reserve a separate container for unpacked returns so mixed leftovers do not enter clean stock.
Step 3: Pack a core kit appropriate to the project. Include spare tools, food, torches, scaffolding, and replacement equipment; include rockets if you use elytra. Keep emergency food, essential tools, and your Silk Touch pickaxe in your player inventory, not exclusively inside nested storage. A water bucket is useful in the Overworld, but placed water normally evaporates in the Nether. Reserve at least one ender-chest slot for the carried chest after retrieving it.
Step 4: Pack construction supplies by work phase rather than filling every box indiscriminately. A foundation load might contain structural blocks, stairs, slabs, and lighting; a roofing load needs a different mix. Record requirements in stacks plus loose items, accounting for each item's stack limit. Put small decorative quantities together in a clearly named detail box. Leave the returns box empty for excavated blocks, temporary supports, and unused materials.
Step 5: Build a sheltered unloading bay at the project before delivering valuable stock. Place the second ender chest there, with ordinary storage for shared materials and clear floor positions for shulker boxes. Leave space in front of each shulker box's opening face so its lid can extend. Use lighting and spawn-proof flooring suitable for the edition, dimension, and local mobs; do not assume lighting alone prevents every spawn type.
Step 6: Withdraw only the box needed for the current task, place it, and take a manageable supply. Before moving on, break the box, collect it, and return it to the ender chest. Unlike items stored inside an ender chest, a placed shulker box or dropped box item is exposed to theft, explosions, or item loss. Avoid unpacking beside lava, an unprotected drop, or the void.
Step 7: Finish each session with a stock check. Move leftovers into their correct boxes, isolate mixed returns, and refill essential consumables at the warehouse. For multiplayer work, deposit shared blocks in ordinary site containers. Another player cannot collect supplies from your personal ender-chest inventory, even using the same chest block.
Validation and Troubleshooting
Test the route with one named box containing inexpensive blocks. Put it into the warehouse ender chest, retrieve it at the project, then return it. Confirm that you can open both stations, unpack boxes, and recover the portable chest with Silk Touch. For dangerous routes or unfamiliar server behavior, rehearse in a separate creative copy before carrying valuable supplies.
If a box seems missing, check your player inventory, placed boxes, warehouse staging, and the returns container. If an ender chest will not open, clear the space above it and check server protection rules. Hoppers cannot insert into or extract from ender-chest inventories, so an “automatic restock” attached to one will not work. Manual transfer is the reliable baseline.
Edition and Server Considerations
Personal ender-chest storage and shulker transport work in modern Java and Bedrock editions, but interfaces, recipes in older versions, and server restrictions can differ. Verify your actual version before investing in automated shulker loaders. If protection settings block access or automation, use permitted manual warehouse stations and clearly labeled ordinary site caches instead.
Please support us by visiting one of our partners: Amazon