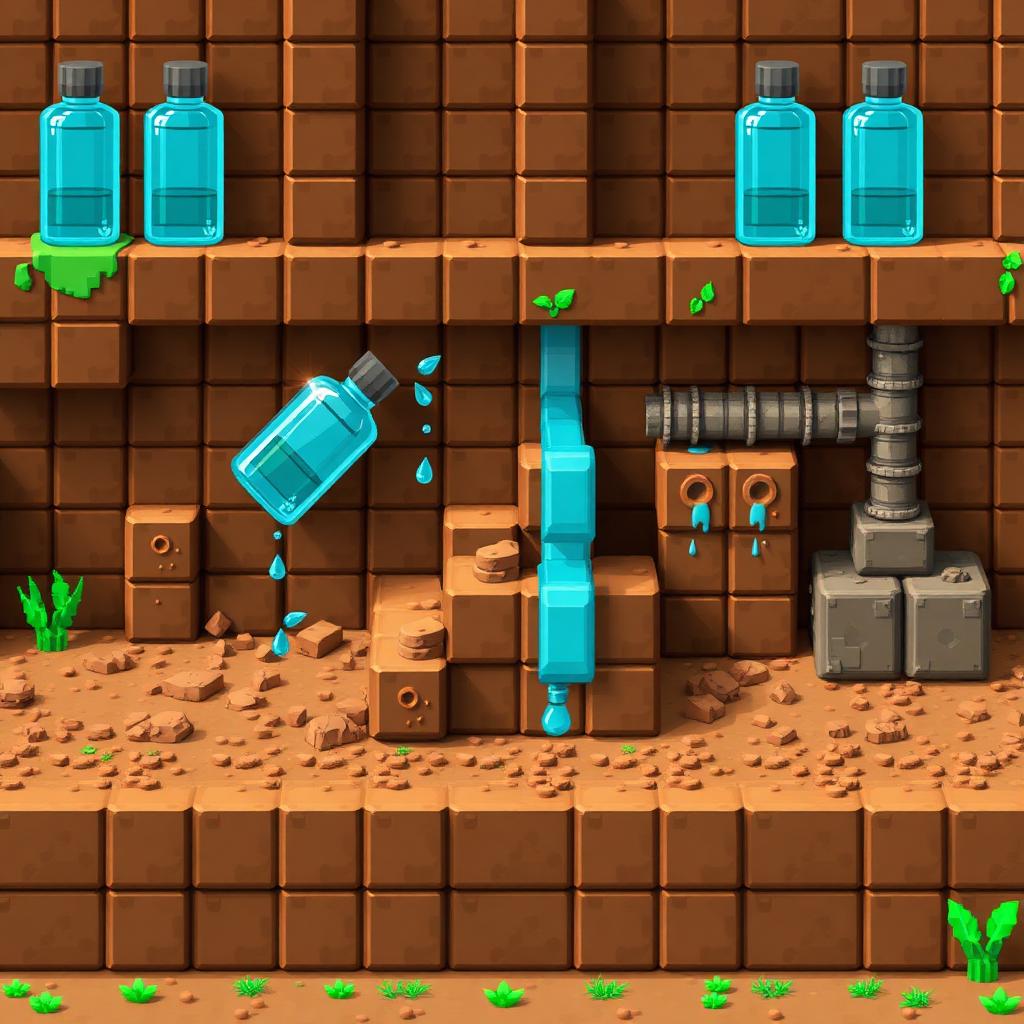
Mud and Packed Mud Factory
Introduction
Introduction
A practical mud factory turns dirt into mud, then routes that mud either into packed mud crafting or an optional clay-drying area. These are different production paths: packed mud requires wheat, while dripstone dries mud into clay, not packed mud. Start with a manual hydration station and organized storage, then add piston handling only if moving blocks actually improves your workflow.

Mud, packed mud, and mud bricks are available in Java and Bedrock Edition 1.19 and later. The basic recipes work in both editions, but dispenser handling, redstone layouts, and automated crafting need checks against your exact version and any server restrictions.
How the Production Chain Works
Use a water bottle directly on dirt, coarse dirt, or rooted dirt to convert the block into mud. Ordinary dirt is usually the simplest bulk input. Grass blocks are not interchangeable with dirt for this interaction. Pouring water from a bucket over dirt does not produce mud.
Craft one mud with one wheat to make one packed mud. Four packed mud arranged in a square produce four mud bricks. Consequently, a batch of 64 packed mud requires 64 mud and 64 wheat. Neither packed mud nor mud bricks require a furnace.
Materials for a Starter Factory
For a 64-block packed mud batch, collect 64 dirt and 64 wheat. Add three glass to craft three glass bottles, a crafting table, a shovel, a water bucket, and chests for inputs and outputs. One bottle is enough to operate the station; extra bottles reduce interruptions. Bring ordinary building blocks to contain the water and define the work area.
Optional expansion materials include a regular piston, a button, and blocks for a harvesting lane. A clay branch needs mud, supporting blocks such as stone, and pointed dripstone. Hoppers can sort out some item movement, but they cannot mine placed mud or automatically place your dirt supply.
Step-by-Step Construction
Step 1: Build a compact work area. Put a crafting table between an input chest and an output chest. Reserve separate storage for dirt, wheat, empty bottles, mud, and packed mud so that unfinished material does not obscure your actual production totals. Light the station and provide safe access around every working block.
Step 2: Make a refill point. Place a water source in a one-block recess with solid sides. Using glass bottles on a water source fills them without consuming the source, so one source is sufficient for manual production. Keep it within easy reach of the hydration area. A cauldron is less convenient here because filling bottles from it consumes its stored water.
Step 3: Establish the conversion cycle. Place one dirt block on a clearly marked working spot. Aim at the dirt and use a water bottle; confirm that the block becomes mud and the bottle becomes empty. Break the mud with a shovel, collect it, refill the bottle, and repeat. Test several cycles before constructing a larger layout. This verifies the interaction without risking a large stockpile.
Step 4: Increase throughput with a small batch pad. Lay out dirt in a short row or rectangular patch that you can comfortably reach. Hydrate every block before harvesting the batch with your shovel. Avoid covering the refill point or placing dirt against storage where accidental interactions become annoying. Leave a clear walking strip alongside the pad.
Step 5: Craft packed mud at the end of each batch. Combine equal numbers of harvested mud and wheat in your inventory crafting grid or at the crafting table. Keep some ordinary mud aside if you also want clay or muddy landscaping. If mud bricks are the goal, convert the packed mud in groups of four. Replenish wheat from a conventional wheat farm; bottleneck planning should include crop harvesting, not just dirt conversion.
Step 6: Add piston handling only after the manual station works. Point a regular piston horizontally into a replaceable dirt position, with an open lane beyond it. Hydrate the dirt, then press a button to push the mud forward. Wait for the piston to retract before placing the next dirt block. Mark a harvest limit before the lane reaches the piston’s 12-block push limit, and remove accumulated mud regularly. Pistons move blocks; they do not harvest mud into items.
Optional Clay and Automation Branches
Dry Mud into Clay
For each drying position, place a solid support block, attach downward-pointing pointed dripstone to its underside, and place mud directly above the support. Leave room below for the dripstone. Over time, the mud converts into clay. Do not put this assembly underneath your packed mud production buffer: conversion removes the mud you need for that recipe. Drying is not immediate or a precise batch timer, so keep the area loaded and inspect it periodically. Use Silk Touch if you want to collect clay blocks directly.
Dispenser and Crafter Upgrades
A dispenser containing water bottles can convert a suitable dirt block directly in front of it into mud. It does not replace the need to place dirt or handle empty bottles. Validate one dispenser with one bottle first, then inspect its contents after activation before designing item routing. Use manual refilling as the reliable fallback. Crafters are available in 1.21 and later, but packed mud automation still requires controlled mud and wheat inputs and recipe-slot configuration.
Troubleshooting and Safe Validation
If hydration fails, check that you are using a water bottle, targeting a supported dirt variant, and not clicking grass or an adjacent container. If a piston stalls, inspect the lane for too many blocks or an immovable obstruction. Avoid unattended clocks: a stopped lane can waste repeated activations without producing anything.
Test redstone additions in a creative copy before committing survival materials, especially on servers with altered mechanics. Keep the manual batch pad available as a dependable fallback, and expand only after a complete batch converts, harvests, and crafts cleanly.
Please support us by visiting one of our partners: Amazon