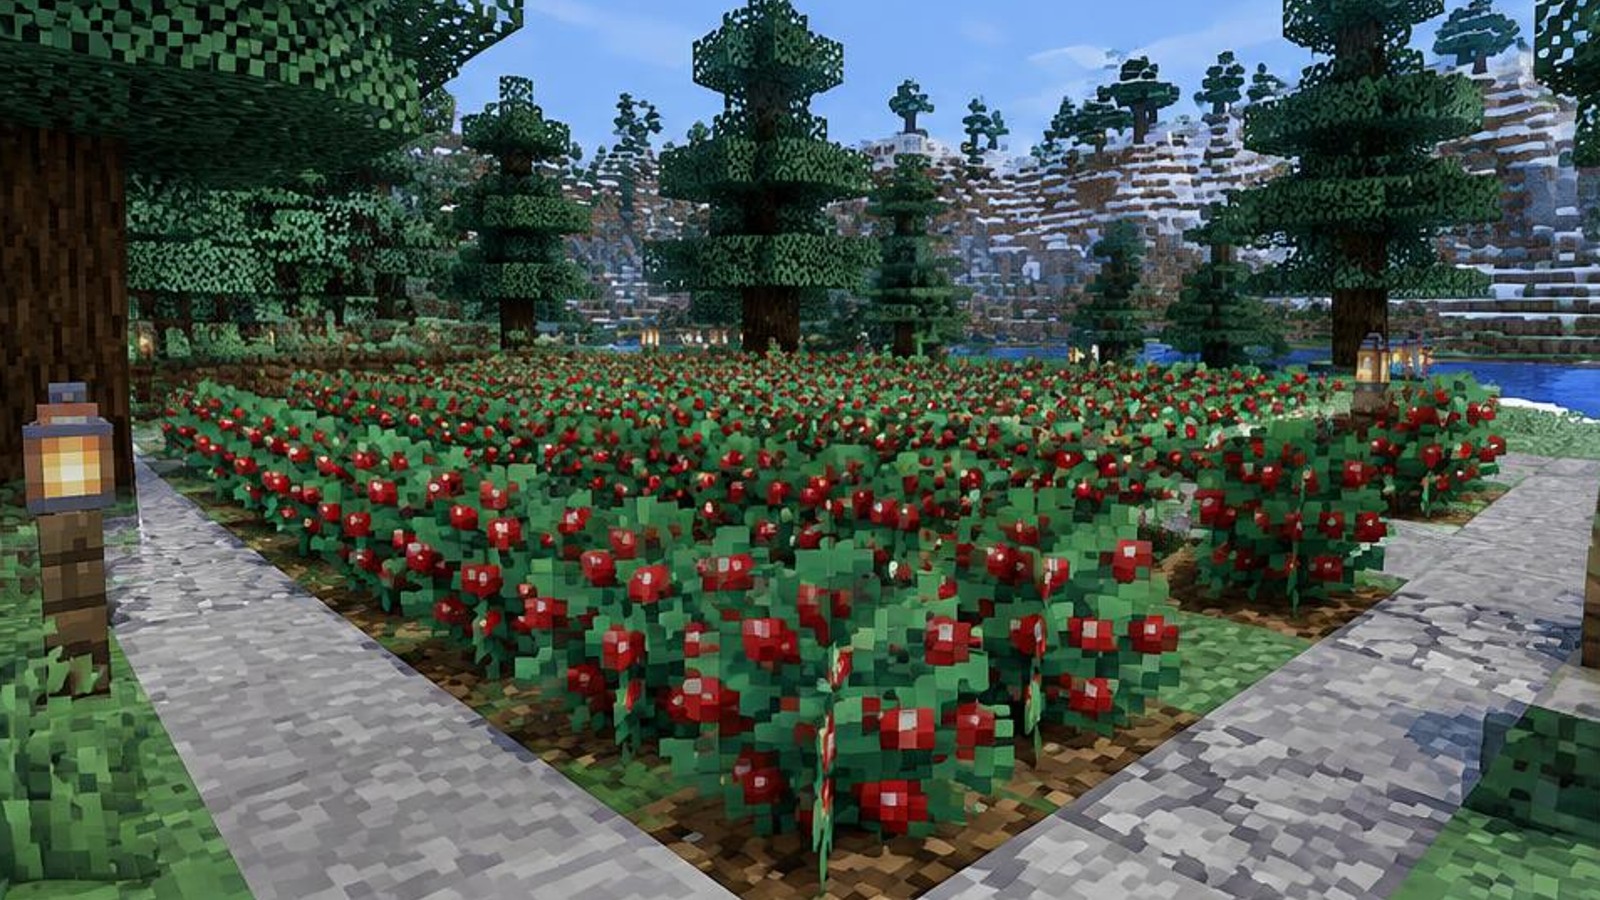
Sweet Berry Garden: Grow Food Without Walking in Bushes
Grow a single berry row and harvest every bush from a clear stone path.
A sweet berry garden works best when you can reach every plant without entering it. Instead of filling a patch with bushes and trying to squeeze between them, you will build one planting row with a walking lane on either side. Connected ends let you move around the crop without crossing its thorns.
This guide uses standard, unmodified Java and Bedrock 1.21 mechanics as its baseline, not assumed changes in later releases. The suggested build contains nine bushes, twenty-four path blocks, and four torch supports. It is a practical example rather than a minimum-size requirement or a promise of a particular production rate.
The pictures are concept illustrations, not exact schematics or real game screenshots. Follow the written coordinates and counts rather than constructing from image geometry. The instructions describe the intended layout and checks; they do not claim an actual in-game validation run.
What your sweet berry garden will contain
The core working area measures 5 blocks across and 11 blocks along its length. A nine-block dirt strip runs through the middle, with a one-block-wide cobblestone lane immediately beside each side. Two end blocks connect those lanes into a continuous route. Four torches sit outside the walking lanes, leaving the paths clear.
Use a local coordinate system rather than particular world coordinates. Let x increase across the width from 0 to 4, and let z increase along the length from 0 to 10. Ground blocks occupy y=0; bushes and torches occupy y=1. You can rotate the entire design because it has no compass-dependent mechanism.
The planting blocks are x=2, z=1–9. Both paths cover z=0–10, one at x=1 and the other at x=3. The end connectors occupy x=2, z=0 and z=10. This arrangement gives you direct access from either side of every bush.

Why the bushes grow and harvesting stays safe
Sweet berries can be planted on ordinary dirt or grass blocks in both baseline editions. You do not need a hoe, hydrated farmland, or a water channel. Keeping the supporting blocks as ordinary dirt also prevents this small food garden from becoming confused with a conventional wheat or carrot field.
A bush progresses through growth stages when suitable conditions and random ticks allow it. Growth requires light level 9 or higher. Do not expect every bush to advance together: plants beside each other can mature at different times. Remaining nearby matters because an inactive area will not continue ordinary crop growth simply because you wait elsewhere.
The intermediate harvestable stage gives 1–2 berries, while a fully mature bush gives 2–3. Harvest with the use action, not the attack or break action. The bush remains planted and resets to an earlier growth stage, allowing another crop without repeated planting.
A newly planted sapling is harmless, but later stages slow and damage most entities moving through them. Harvesting does not turn a planted row into a dependable walking route. Your safety comes from keeping your player beside the bushes, not from trying to time a dash through recently harvested plants.
Materials for this exact example
Core supplies: 9 sweet berries for planting, 9 ordinary dirt blocks, 28 cobblestone blocks, and 4 torches. Twenty-four cobblestone blocks become the connected paths; the other four support the torches. If the planting positions already contain suitable dirt or grass, leave those blocks in place and bring fewer replacement dirt blocks.
Useful equipment: Bring a shovel for changing ground blocks and a pickaxe for correcting misplaced cobblestone. Neither tool is part of the permanent structure. A few additional berries, food for your character, and optional bone meal are operating supplies rather than required construction materials.
The 55-cell footprint does not mean you must replace 55 ground blocks. Only 37 positions receive specified materials: 9 planting blocks and 28 cobblestone blocks. The remaining 18 edge positions can retain their existing solid ground. No fence, chest, roof, or decorative border is included in the core count.
Build the garden in twelve measured steps
Step 1: Choose a level patch near a route you already use, such as the walk between your starter house and storage. Measure a rectangle 5 blocks wide and 11 blocks long, then remove vegetation and obstacles within it. Set its near-left corner as local x=0, z=0, with the ground surface blocks at y=0. You do not need commands or displayed world coordinates; counting from the same corner is enough. Check that you can approach the middle of either short end without climbing. Avoid placing the garden directly beside a drop, hostile-mob access point, or frequently used animal route.
Step 2: Prepare the planting strip at x=2, running from z=1 through z=9. These nine positions must contain ordinary dirt or grass blocks at y=0. Replace unsuitable surface blocks now, but do not till the strip or introduce water. Count the planting positions individually before continuing: both z=0 and z=10 remain outside the crop row because they will connect the paths. Clear the spaces directly above all nine planting blocks, including the layer above the eventual bushes. This leaves room for the plants and avoids accidental light obstructions when you add nearby building details later.
Step 3: Replace the ground at x=1, z=0–10 with eleven cobblestone blocks. Make an identical eleven-block lane at x=3, z=0–10. Finish the route with one cobblestone block at x=2, z=0 and another at x=2, z=10. You have now used exactly twenty-four cobblestone blocks. Keep all of them at y=0, flush with the planting dirt, rather than stacking them into raised walls. Walk the empty circuit before planting. You should be able to travel along one side, turn across an end connector, and return along the other side without stepping on any future planting position.

Step 4: Place the four remaining cobblestone blocks at x=0, z=3; x=0, z=7; x=4, z=3; and x=4, z=7. Each belongs at ground level, y=0. Put one torch on top of each support so the torch occupies y=1. These positions keep lighting outside both walking lanes while distributing it along the row. Do not move all four torches to the corners for symmetry: that changes the distances to the middle plants. Keep the spaces between the torches and crop row open. Walls, solid decorations, or an altered roof can invalidate the simple lighting arrangement.
Step 5: Review the lighting before you spend the planting berries. A normal torch emits block light level 14, which decreases with distance through unobstructed spaces. In this layout, each position directly above a bush is within five block-light steps of a torch, supporting the required level of at least 9 without relying on daylight. The farthest checks occur above the row ends and around its middle. This reasoning assumes the specified torch locations and clear light routes. If you change the geometry, reassess the lighting instead of assuming that four torches will suit every garden shape.
Step 6: Stand on either cobblestone lane with your nine sweet berries selected. Aim at the top of each planting block and use one berry to plant a bush. Work steadily along the row, placing exactly one bush at each z position from 1 through 9. The young plants will not yet present the same hazard as developed bushes, but practice staying on the path from the start. Keep the end connectors empty. If you accidentally plant a berry on ordinary ground elsewhere, remove that unwanted plant before it grows into a thorny obstruction beside your route.
Step 7: Let the planted row develop while you carry out nearby tasks. Growth is random rather than synchronized, so compare stages instead of expecting all nine bushes to change together. You may use bone meal to advance a selected bush for an early demonstration, but bring extra if you want to advance it through multiple stages. Bone meal is optional and does not replace the garden's long-term lighting arrangement. If you want to evaluate normal growth, leave some bushes untreated. Do not treat one quick bone-meal result as evidence that every plant will grow naturally under a newly added roof.
Step 8: Establish a harvesting position before interacting with a developed bush. Stand near the center of a cobblestone block at x=1 or x=3, facing the planting row at x=2. You are only one block sideways from the target, so there is no reason to lean your movement into the thorns. Select an empty hotbar slot to avoid confusing harvesting with another item action. Aim at the bush itself rather than its supporting dirt. In particular, put bone meal away: using bone meal on a bush applies that item instead of following the ordinary empty-hand harvest routine.
Step 9: Harvest a fully mature bush with the use action assigned by your controls. On typical mouse controls this is right-click, but touch and controller bindings differ. The mature bush should release 2–3 berries and stay planted, returning to an earlier growth stage. An intermediate harvestable bush instead provides 1–2 berries, so waiting for maturity gives more berries per interaction. Avoid holding the attack control, which breaks the plant rather than gathering its renewable crop. Observe the change on one bush before continuing down the row. This gives you a clear reference for recognizing the harvested state.
Step 10: Move along the stone lane and collect drops without crossing the planting strip. Most nearby drops should be reachable from the adjoining path, but their precise resting positions can vary. If an item does not enter your inventory, approach from the opposite lane or an end connector before considering any riskier movement. Do not chase a single berry straight into a developed bush. Keep an inventory slot available so pickup can succeed. Complete one careful pass along the row, checking the stage of each plant rather than repeatedly using bushes that have already been harvested and have not regrown.

Step 11: Check the whole route under normal operating conditions, including after sunset. Walk both lanes and both end connectors with the bushes developed, maintaining a centered position on the paths. Confirm that no planted block has spread your working area into a doorway or shortcut; sweet berry bushes do not automatically fill neighboring blocks, so unexpected extra plants came from planting. Inspect all four torch positions and remove any new obstruction between them and the row. Leave the garden for another nearby task, then return later to look for further growth rather than assuming an immediate change proves anything.
Step 12: Set up a simple operating habit for the finished garden. Keep a small reserve of berries in your existing storage, harvest mature plants during ordinary trips past the area, and leave slower bushes for a later pass. Replace a broken bush with one reserve berry on the same dirt block. Do not add storage containers to the one-block walking lanes; place them beyond the footprint where opening and approaching them will not push you toward thorns. Finally, record any layout changes you make, especially moved torches or added walls, so future growth problems have an obvious starting point for investigation.
Test growth separately from harvesting
Use three separate checks rather than treating the first handful of berries as proof that everything works. The movement check confirms that you can circle the row without touching bushes. The interaction check confirms that use harvests a developed plant while leaving it rooted. The growth check confirms that untreated bushes continue advancing while the area is active.
For the growth check, observe several plants over repeated nearby visits, including a period without daylight. Random ticking makes a short wait inconclusive. Avoid quoting a fixed berries-per-hour figure from this garden: the result depends on growth opportunities, how often you harvest, and whether you wait for maturity.
Troubleshoot six common problems
Bushes remain small
Check that the plants have adequate light and that you spend time near the garden. Restore missing torches and remove solid additions that obstruct their light routes. If the whole area has been outside active simulation, simply waiting elsewhere is not a useful growth test. A single slow bush can also reflect normal randomness.
You take damage during collection
Your character is probably brushing into the planting row while moving. Center yourself on the stone lane before aiming, and release forward movement while harvesting. Check for bushes accidentally planted on the approaches. A harvested bush is not a guaranteed safe stepping stone, so keep using the connected ends to change sides.
Using a bush spends bone meal
This is expected when bone meal is selected. Switch to an empty hand before harvesting. If the bush still does not produce berries, it may not yet be at a harvestable stage, or you may be aiming at the dirt below it. Verify the plant's appearance and the target before changing the build.
The plant disappears after harvesting
You probably used the break action rather than use. Replant one berry on the empty dirt block, then confirm your control binding with a single deliberate interaction on another developed bush. On touch devices, take particular care with the distinction between interacting and continuing an input that breaks a block.
Berries remain on the ground
First check inventory space, then approach from the other path. Items are not automatically delivered to a chest in this design. Avoid leaving drops unattended because dropped items can eventually despawn while their area is active. If pickup repeatedly tempts you into the row, slow your movement and use both sides.
The crop changes while you are away
Foxes can harvest berries and are immune to berry-bush damage. Inspect nearby wildlife access rather than assuming another player interfered. A basic fence is not a reliable fox-proof promise because foxes can jump. If protecting every harvest matters, design a fully enclosed garden and review all openings, including its entrance.
Java and Bedrock 1.21 considerations
The planting surface, single-row access, mature and intermediate yields, and use-action harvesting described here apply to both baseline editions. Neither version requires irrigation for these bushes. Fox immunity and the danger of walking through developed plants are also relevant to both. The design avoids redstone timing and edition-specific machinery entirely.
Controls and diagnostic tools are less uniform. Java provides debugging information that can help inspect lighting, while standard Bedrock play does not offer the same Java debug screen. Simulation distance and the way you keep an area active also depend on your setup. Use the specified unobstructed lighting layout and direct growth observations instead of assuming identical interface tools or growth timings.
Optional upgrades without losing safe access
Widen either lane outward if you prefer more room for movement, but preserve an unobstructed strip directly beside the bushes. Add storage beyond a short end, not on a connector. Decorative edging can help identify the garden at night, provided it does not obstruct torch light or force a diagonal approach through the crop.
For more plants, build another separate row with its own clear walking access and lighting. Do not casually double the planting strip's width: doing so changes collection positions and encourages stepping between bushes. A roofed enclosure can help control access, but it also removes dependable daylight, making your artificial lighting checks especially important.
Safety around homes, animals, and shared paths
Do not use a berry row as an unmarked border beside a busy doorway. Developed bushes can harm or slow most entities, including animals wandering through them. Keep pets and livestock away from the planting strip, and leave a clear route for other players. Lighting the crop does not secure the surrounding landscape against every hostile mob.
On a shared server, explain that the plants should be harvested with use rather than broken. Follow local building rules before enclosing a public route. This garden requires no exploit, automation trick, or special permission beyond ordinary planting and building.
Frequently asked questions
Can you start with fewer than nine berries?
Yes. Prepare the complete layout and plant whichever positions you can supply. Reserve berries from early harvests to fill the remaining dirt blocks. Nine plants describe this example, not a minimum required for the growing mechanic.
Should you use grass instead of dirt?
Either ordinary dirt or grass blocks work for this build in both baseline editions. Keep existing suitable ground if it saves materials. There is no need to replace the strip with sand or hydrated farmland.
Should you harvest before full maturity?
You can take an intermediate harvest when you need food immediately, but it gives 1–2 berries rather than the mature yield of 2–3. For a convenient routine, gather visibly mature bushes and let the others continue growing.
Does this design automatically collect berries?
No. You activate each harvest and pick up the dropped items yourself. The paths solve access, not automation. Any collection machinery would be a separate design with additional materials, testing, and potentially edition-specific considerations.
Maintenance and a dependable harvesting routine
During regular visits, check for missing torches, accidentally broken bushes, blocked approaches, and loose drops. After building anything nearby, reassess the light routes rather than assuming the original conditions remain unchanged. Keep replacement berries separate from the last food you intend to eat.
The essential arrangement stays simple: one dirt row, two connected stone lanes, and light that reaches every plant. Harvest from beside the bushes, preserve the planted row, and expand only when you can maintain the same clear access.
Further reading on the underlying mechanics
For growth stages, planting surfaces, harvesting yields, and bush interactions, consult the Minecraft Wiki page on sweet berries. Use it to check mechanics if you move beyond the Java and Bedrock 1.21 baseline.
The pages on light and foxes explain the lighting and wildlife behavior relevant to this garden. Recheck those details before changing the enclosure or replacing the suggested torch arrangement.
Please support us by visiting one of our partners: Amazon